Dual Booting Linux on a Machine That Barely Runs Windows — Part 1: From Windows Frustration to a Verified ISO
Dual Booting Linux on a Machine That Barely Runs Windows
Part 1 — From Windows Frustration to a Verified ISO
Before I installed Linux, I thought my laptop was dying.
It wasn’t. It was just being asked to do a job it could no longer handle.
There were no dramatic crashes. No blue screens of death. It was a slow, chronic underperformance. I would open a few browser tabs and watch the system crawl under the weight of the operating system.
I needed a change, but I didn’t have the budget for new hardware. So I had to change the software.
The Hardware I Was Working With
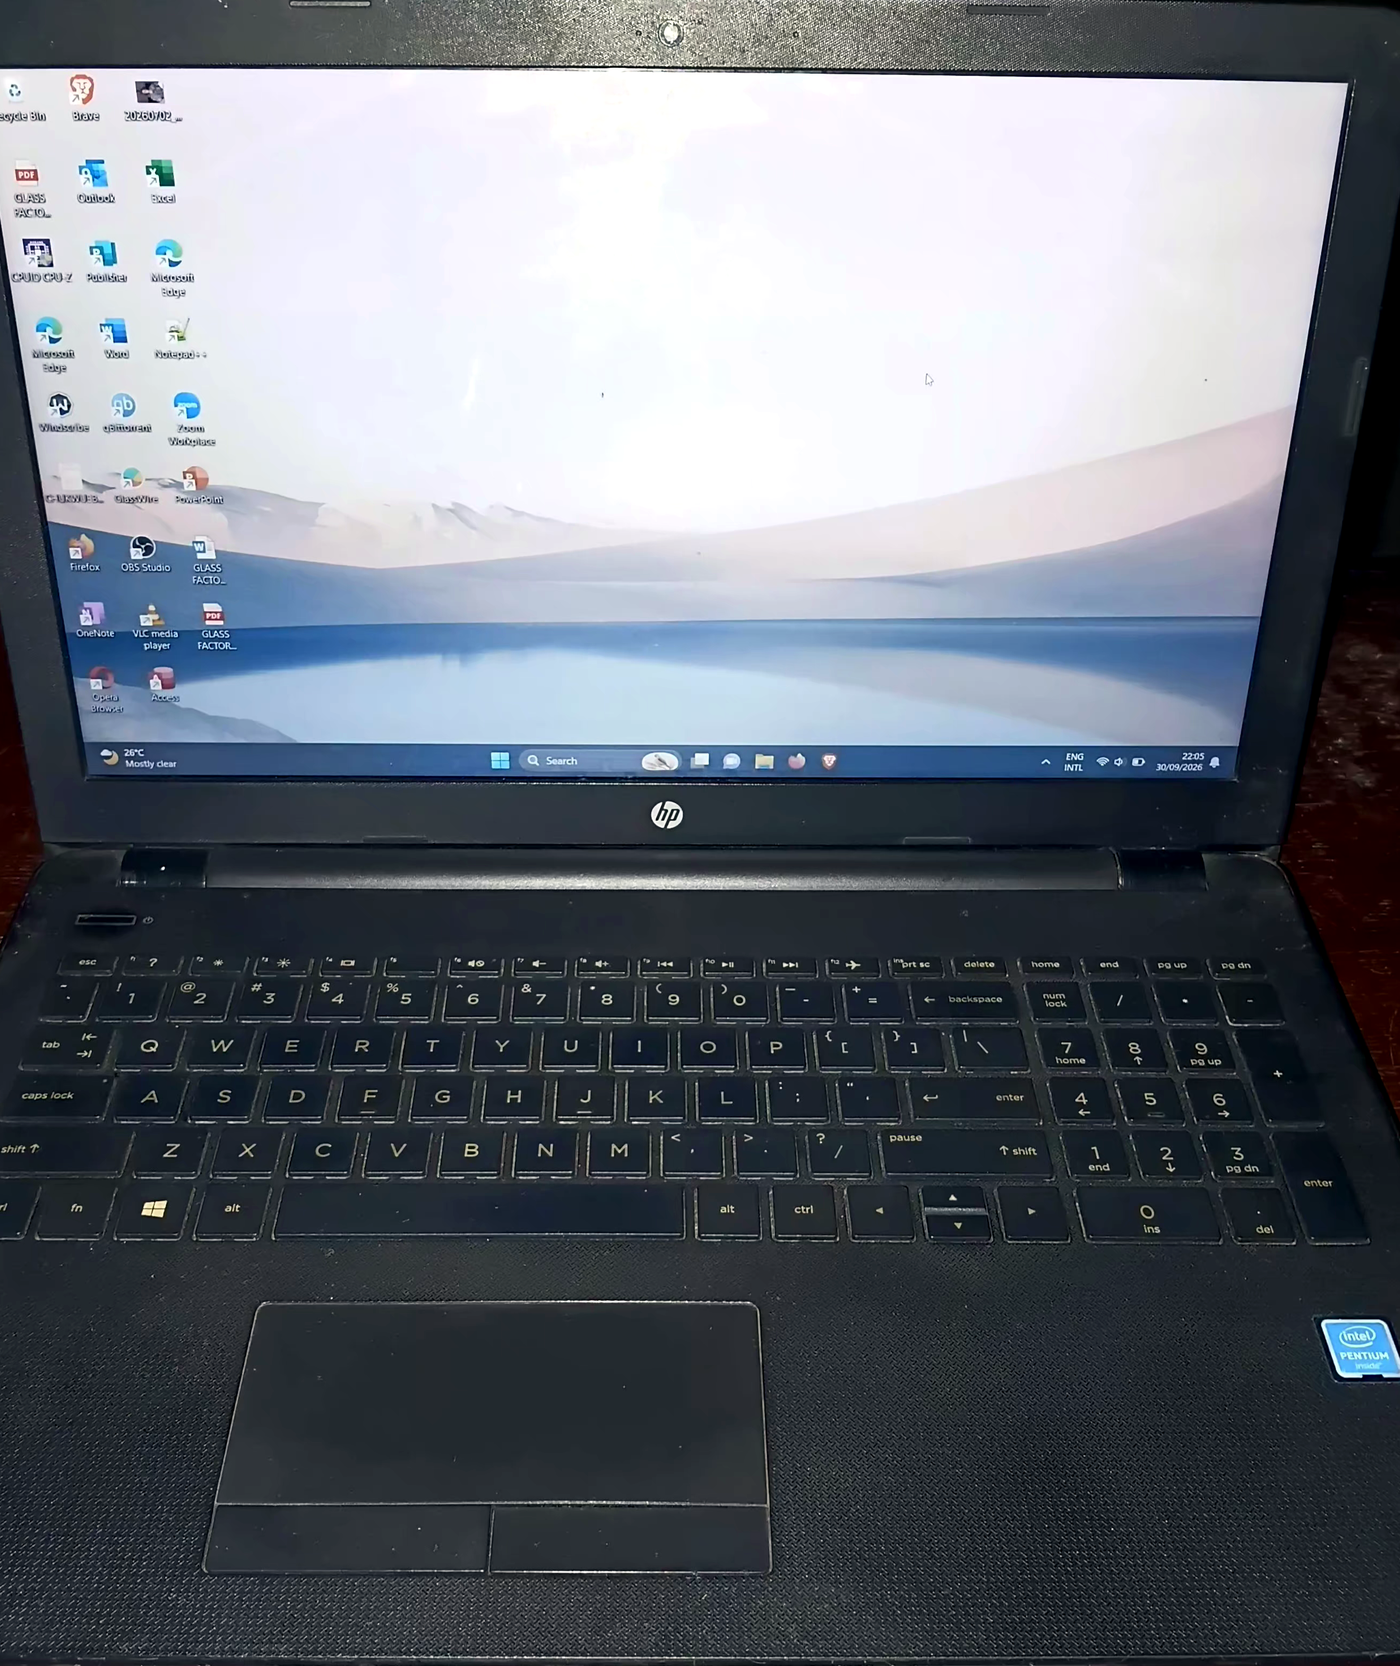
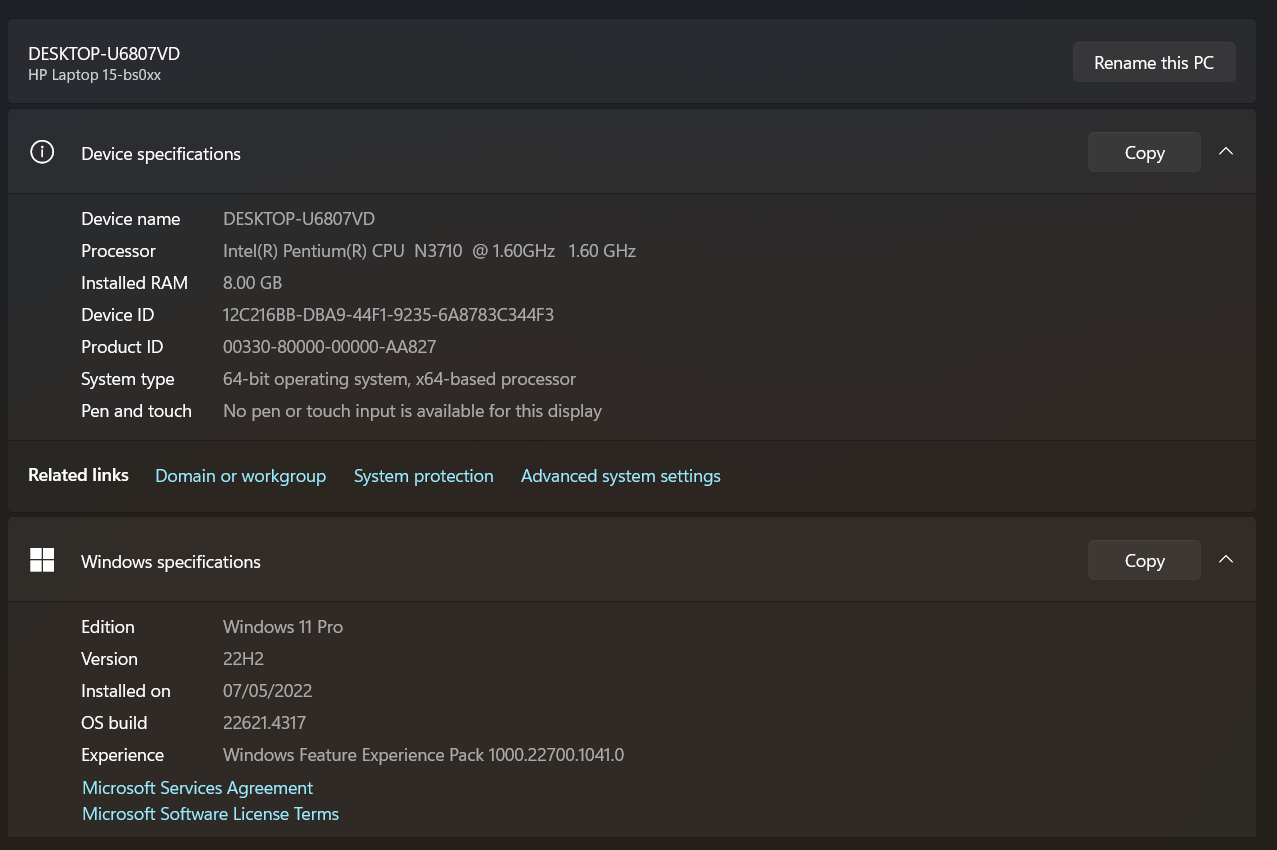
This is the machine I was making these decisions on.
| Component | Specification |
|---|---|
| Device | HP Laptop |
| Processor | Intel Pentium N3710 (4 cores, 6W TDP) |
| RAM | 8GB |
| Storage | 256GB SSD |
Under Windows 11, my RAM usage would sit at 3GB to 3.2GB while idle — before I even opened a single application. On an 8GB machine, that means nearly 40% of my total memory was consumed just keeping the operating system alive.
The hardware wasn’t broken. Windows 11 just wanted more than it could give.
The Decision: What Were My Options?
The obvious solution was to upgrade the hardware. That wasn’t available to me. I’m based in Nigeria, the budget was fixed, and whatever I did had to be done in software, on this machine, for free.
I wasn’t just short on money. I was short on options. Everything I tried had to work on this exact machine, with the tools I already had.
Why not downgrade to Windows 10?
Windows 10 reached end of support on October 14, 2025. Even if it would have run lighter than Windows 11, installing it now would mean moving onto an operating system that no longer recieves security updates. I wasn’t willing to trade a performance problem for a security problem later.
Why not optimize Windows 11?
I tried. Disabling startup programs, turning off visual effects, stripping background services. It helps at the margins. But Windows 11 has a baseline resource footprint that cannot be reduced past a certain floor, and on 8GB of RAM that floor was still consuming close to 40% of my memory before I opened anything.
The operating system had to change.
How I Landed on Linux Mint XFCE
I’ll be straightforward about how this decision was made.
Linux Mint XFCE was recommended to me. My first reaction was skepticism. Part of me kept waiting for the catch — that Linux would somehow leave me stranded without the software I needed, or that I’d break the only laptop I had. So before committing, I needed to verify whether the recommendation actually made sense for my specific hardware and constraints.
It did.
Linux Mint is built on Ubuntu LTS, which means long-term stability and a documentation base large enough that almost any problem I would run into had already been solved somewhere online. For someone expecting to troubleshoot often on a first Linux installation, that community infrastructure mattered a lot.
As for XFCE specifically, Linux Mint ships in three editions, each with a different desktop environment:
| Edition | Desktop Environment | Approximate Idle RAM | Trade-off |
|---|---|---|---|
| Cinnamon | Cinnamon | 1.2GB - 1.5GB | Best visuals, heaviest on resources |
| MATE | MATE | 900MB - 1.2GB | Balanced, but still heavier than necessary for my hardware |
| XFCE | XFCE | 500MB - 900MB | Lightest, fewer visual effects, maximum efficiency |
Cinnamon relies on GPU compositing for its visual effects. On a Pentium N3710 with integrated Intel HD 405 graphics, that overhead costs responsiveness I couldn’t spare. MATE sits in the middle but is still heavier than what my hardware needed.
There are lighter options than XFCE. LXQt and LXDE both consume less memory. But XFCE is where efficiency and day-to-day usability meet. I wanted a system I could actually work in comfortably, not just one that looked better on a benchmark chart.
Xubuntu, which is Ubuntu with XFCE, would also have worked technically. But Linux Mint’s built-in tools and beginner-friendly ecosystem made more sense for a first installation.
The recommendation held up, so I committed to it.
Why dual boot instead of replacing Windows entirely?
I’m not a Linux purist and I wasn’t trying to prove a point. Some tasks still require Windows, and wiping it completely would have left me with no fallback if the Linux installation went wrong on my only machine.
Linux Mint would be my primary working environment. Windows 11 would stay on standby for Windows-specific work. A virtual machine wasn’t an option either. Running one operating system inside another on 8GB of RAM would have recreated the exact performance problem I was trying to escape.
The decision was made. Now I had to prepare the machine.
Preparing the Disk: Partitioning and Fast Startup
Before touching any Linux files, I had to make room for a second operating system on the SSD.
My laptop has a 256GB SSD, but like most storage devices, the full marketed number is not what you see as usable space in the operating system. After accounting for system partitions and storage formatting, what I actually had to work with was approximately 238GB.
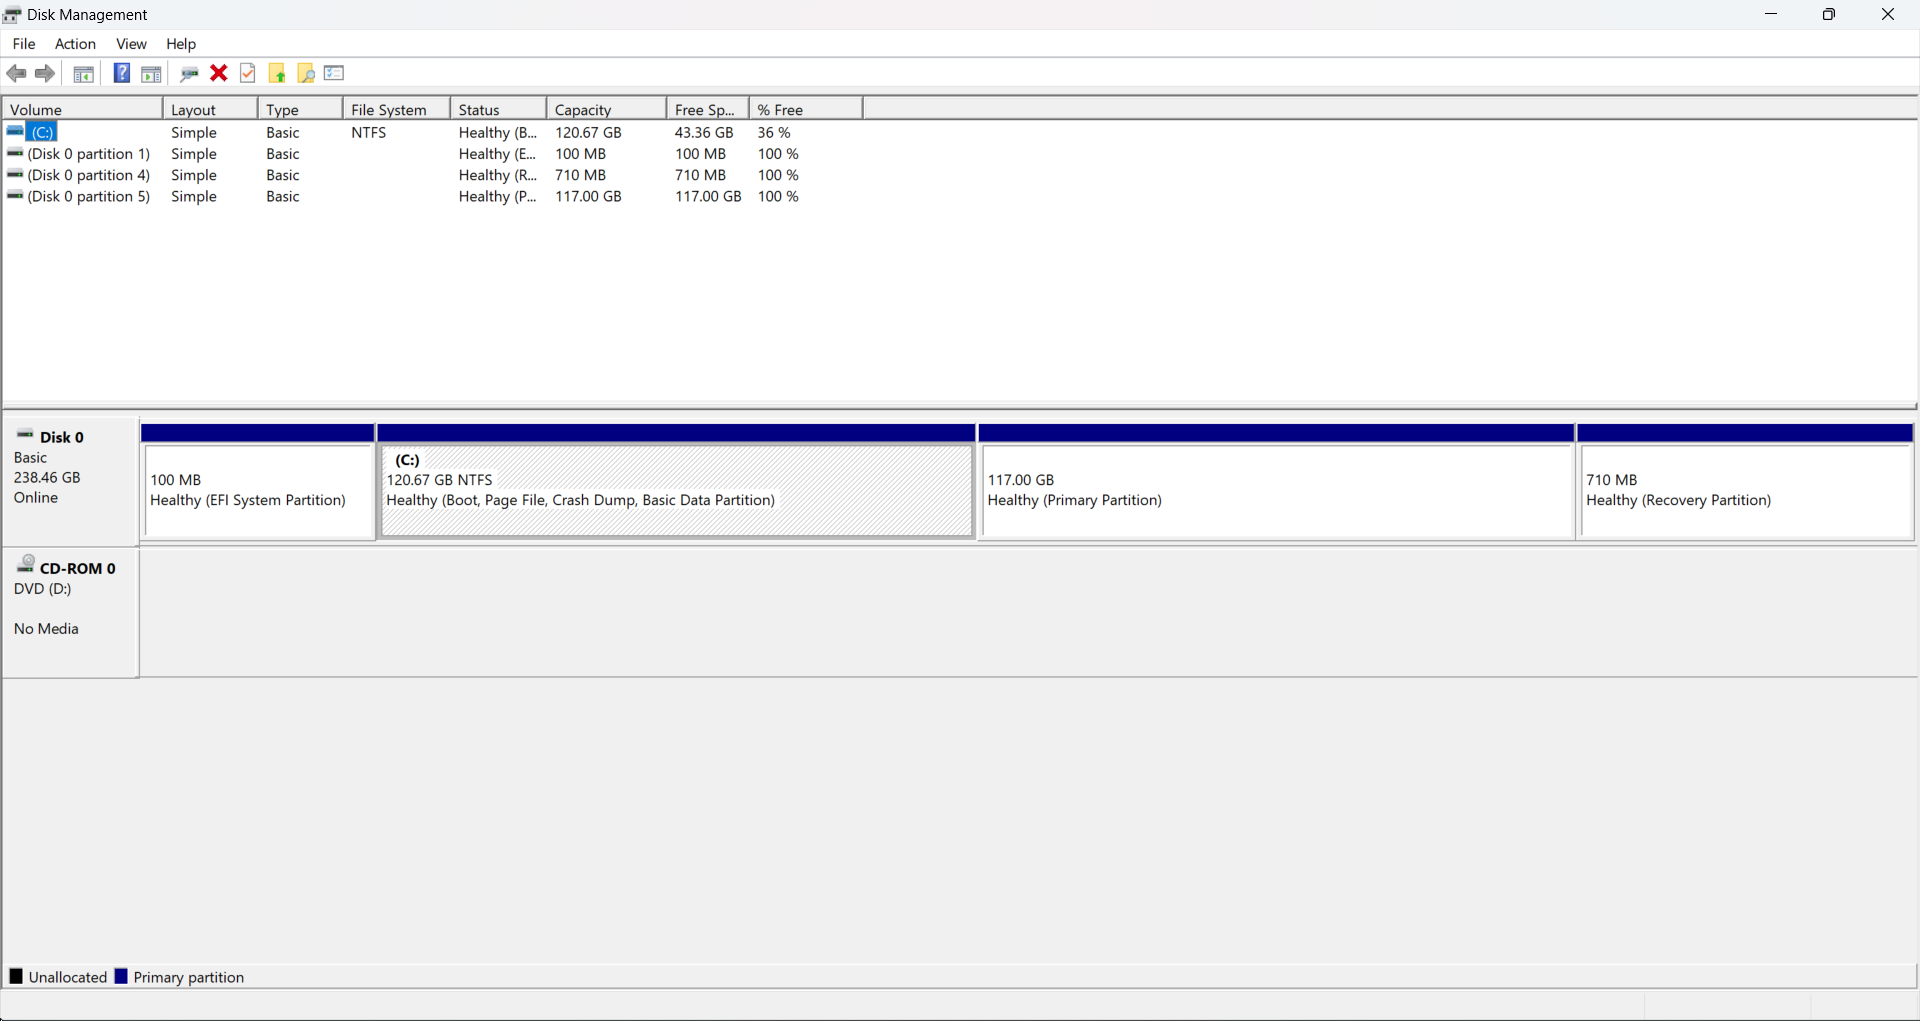
I used the built-in Windows Disk Management tool to shrink the main Windows partition and create space for Linux.
How I Split the Drive
I reduced the Windows partition to 120GB and left 117GB as unallocated space for Linux to use during installation.
| Partition | Size | Purpose |
|---|---|---|
| Windows 11 (C:) | 120GB | Main Windows system partition |
| Unallocated Space | 117GB | Reserved for Linux Mint |
| EFI / Recovery / Reserved | Remaining space | Windows boot and recovery partitions |
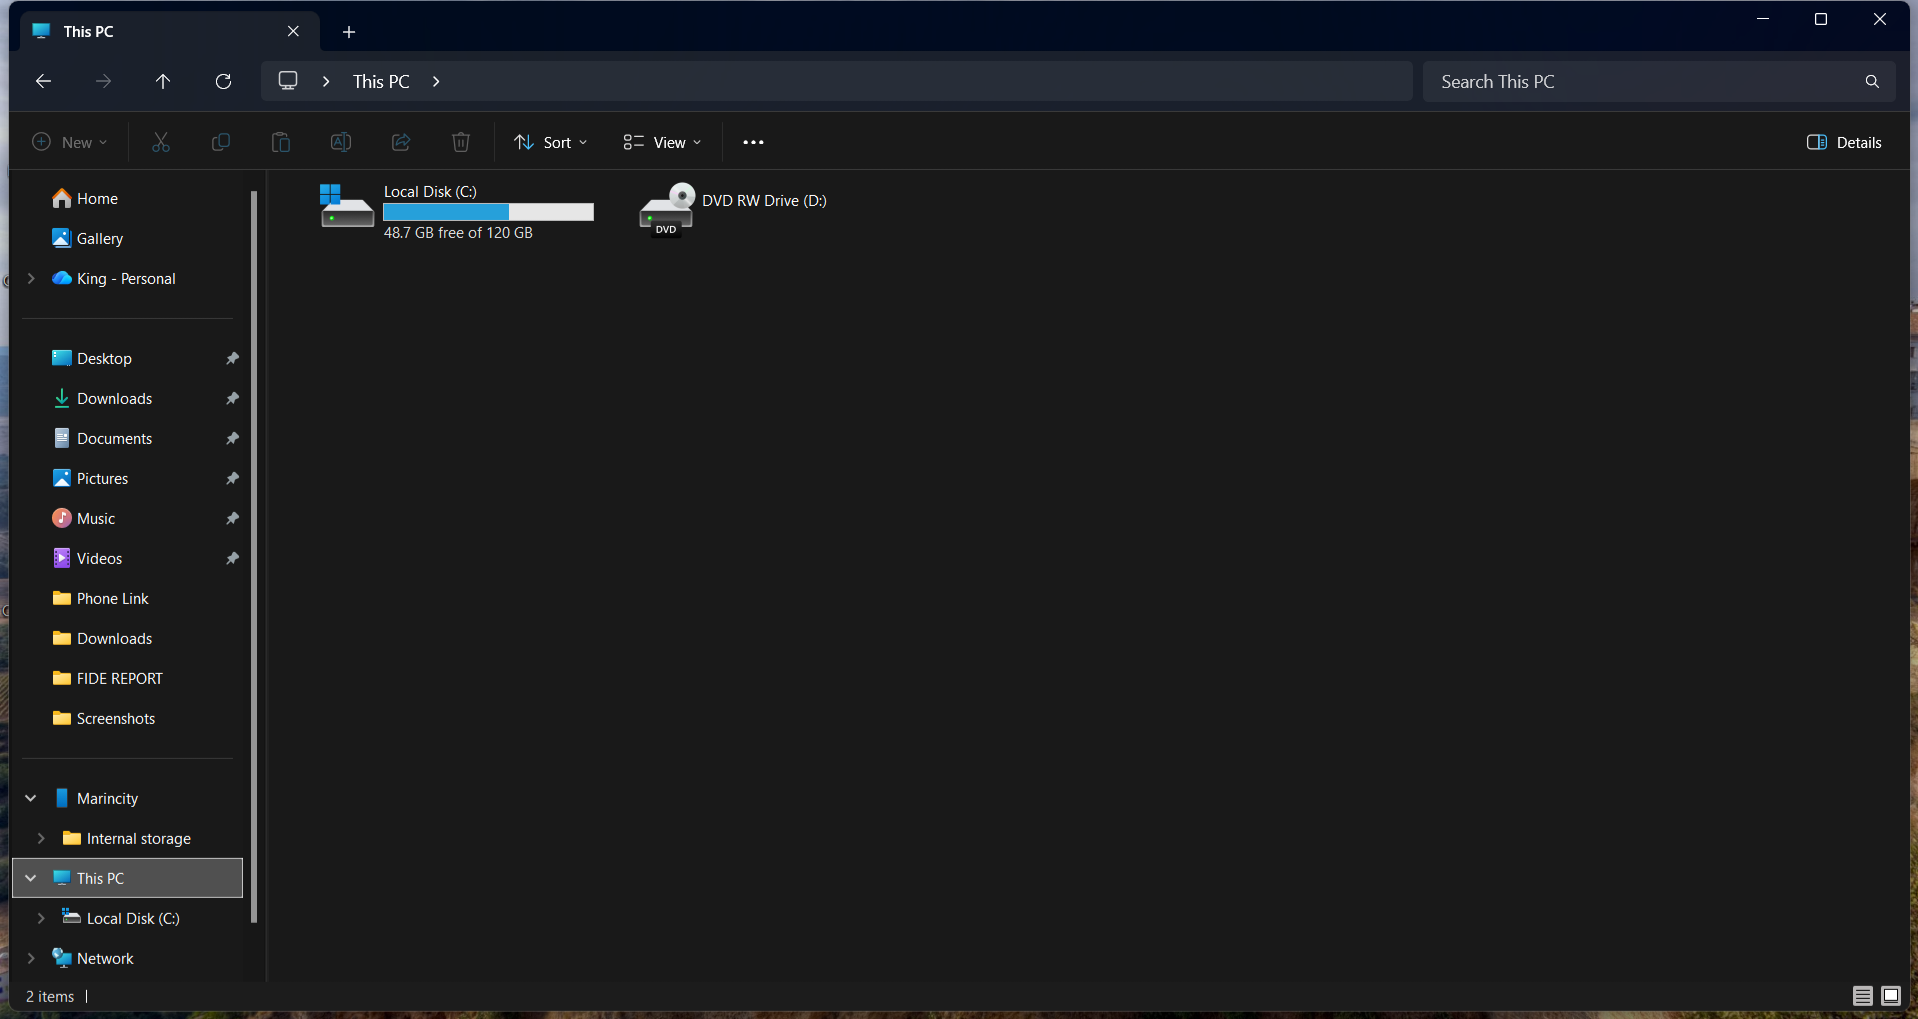
This split made practical sense for my use case. Windows still had enough room for updates, applications, temporary files, and anything Windows-specific I might still need later. Linux Mint XFCE is much lighter and doesn’t need anywhere near that much space for a basic installation, so 117GB gave it more than enough breathing room.
At this stage, I wasn’t manually creating Linux partitions yet. I was simply preparing empty, unallocated space for the installer to detect later.
The Fast Startup Detail I Handled Too Late
There is an important step I missed during preparation: I did not disable Windows Fast Startup before my first boot attempts. I only resolved it later after troubleshooting forced me to revisit whether Windows was truly shutting down.
Fast Startup is a hybrid feature where Windows writes the active kernel session to a file named hiberfil.sys instead of performing a full shutdown. In a dual-boot setup, this leaves the NTFS partition in a semi-locked state, creating potential file system conflicts and boot anomalies when Linux tries to access the drive.
The correct procedure is to disable Fast Startup and perform a complete shutdown before attempting any Linux boot. While I learned that the hard way later in the process, getting it out of the way during preparation ensures a clean handoff between operating systems.
With the disk space unallocated and the Windows side prepared, the next problem was downloading the Linux Mint ISO.
Downloading Linux Mint: The Mirror Problem
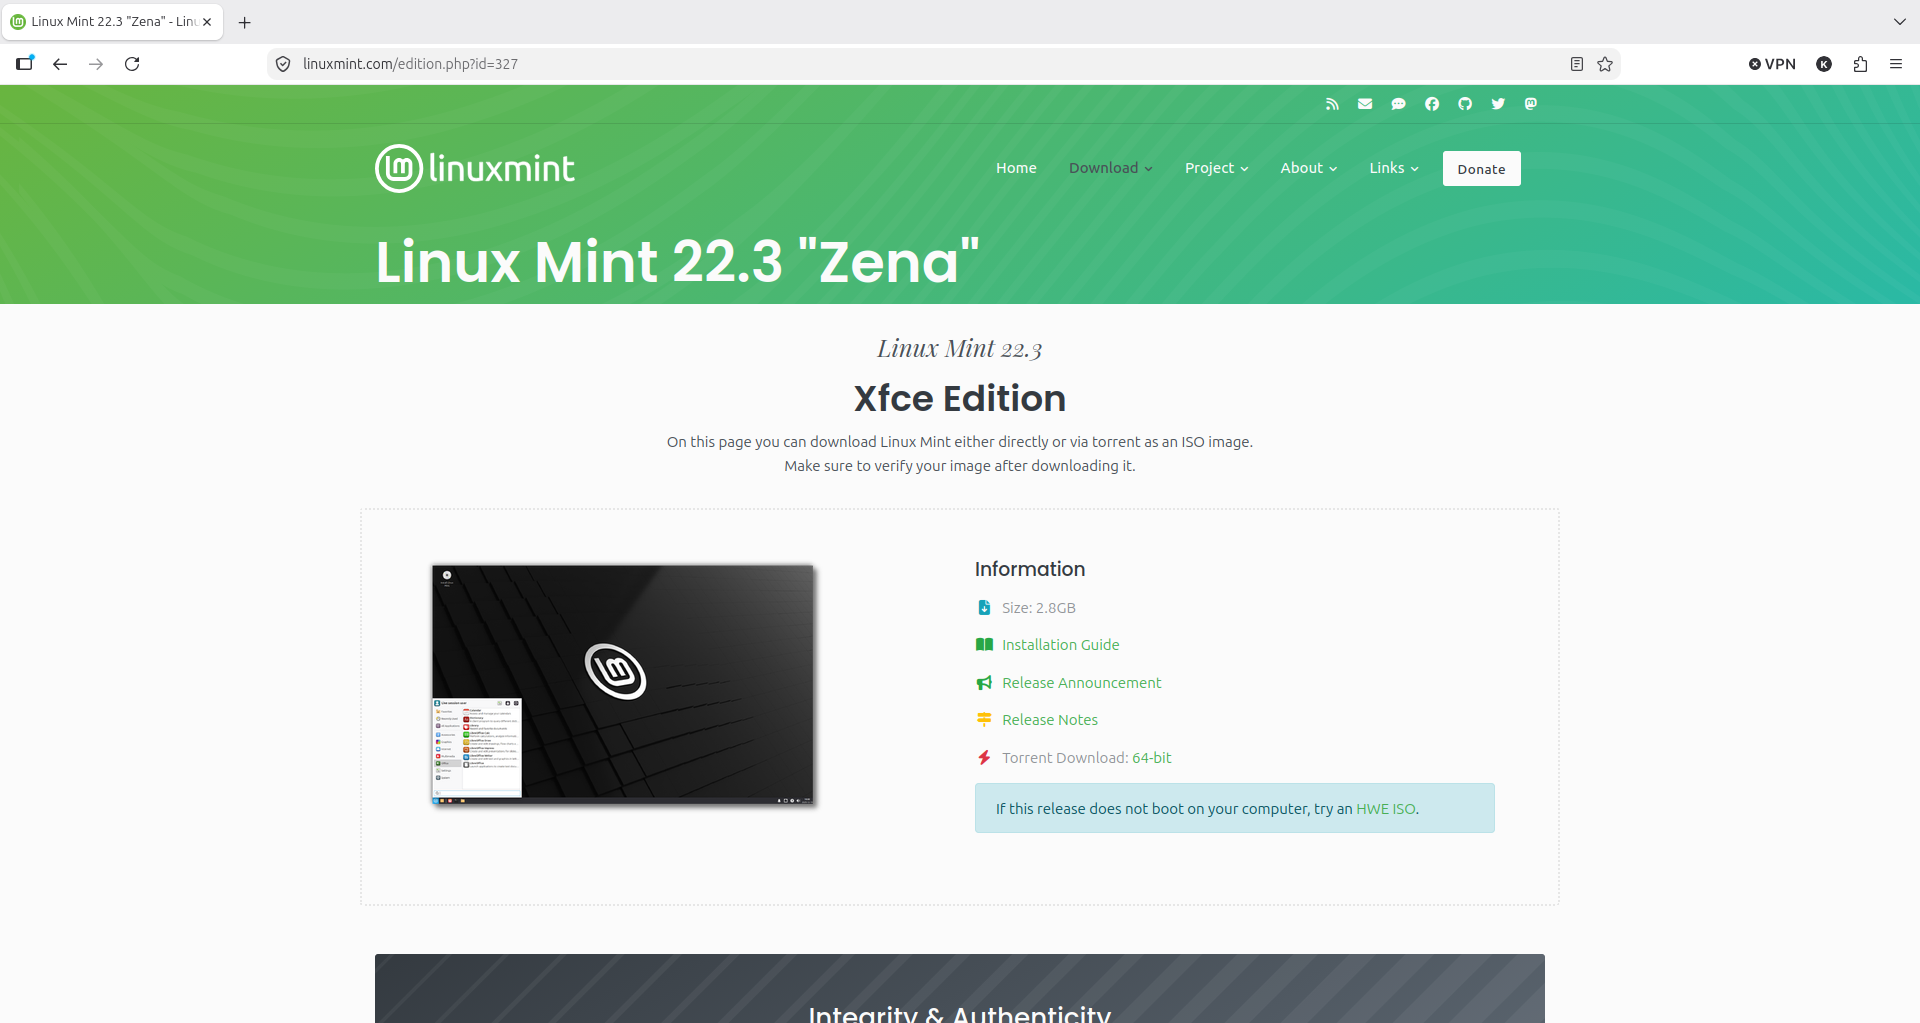
With the disk prepared, the next step was getting the Linux Mint XFCE 22.3 ISO file. I went to the official Linux Mint download page expecting a straightforward download link. Instead, I discovered something I had never encountered before: download mirrors.
Linux Mint distributes its ISO through regional download mirrors — servers in different countries that host copies of the same file.
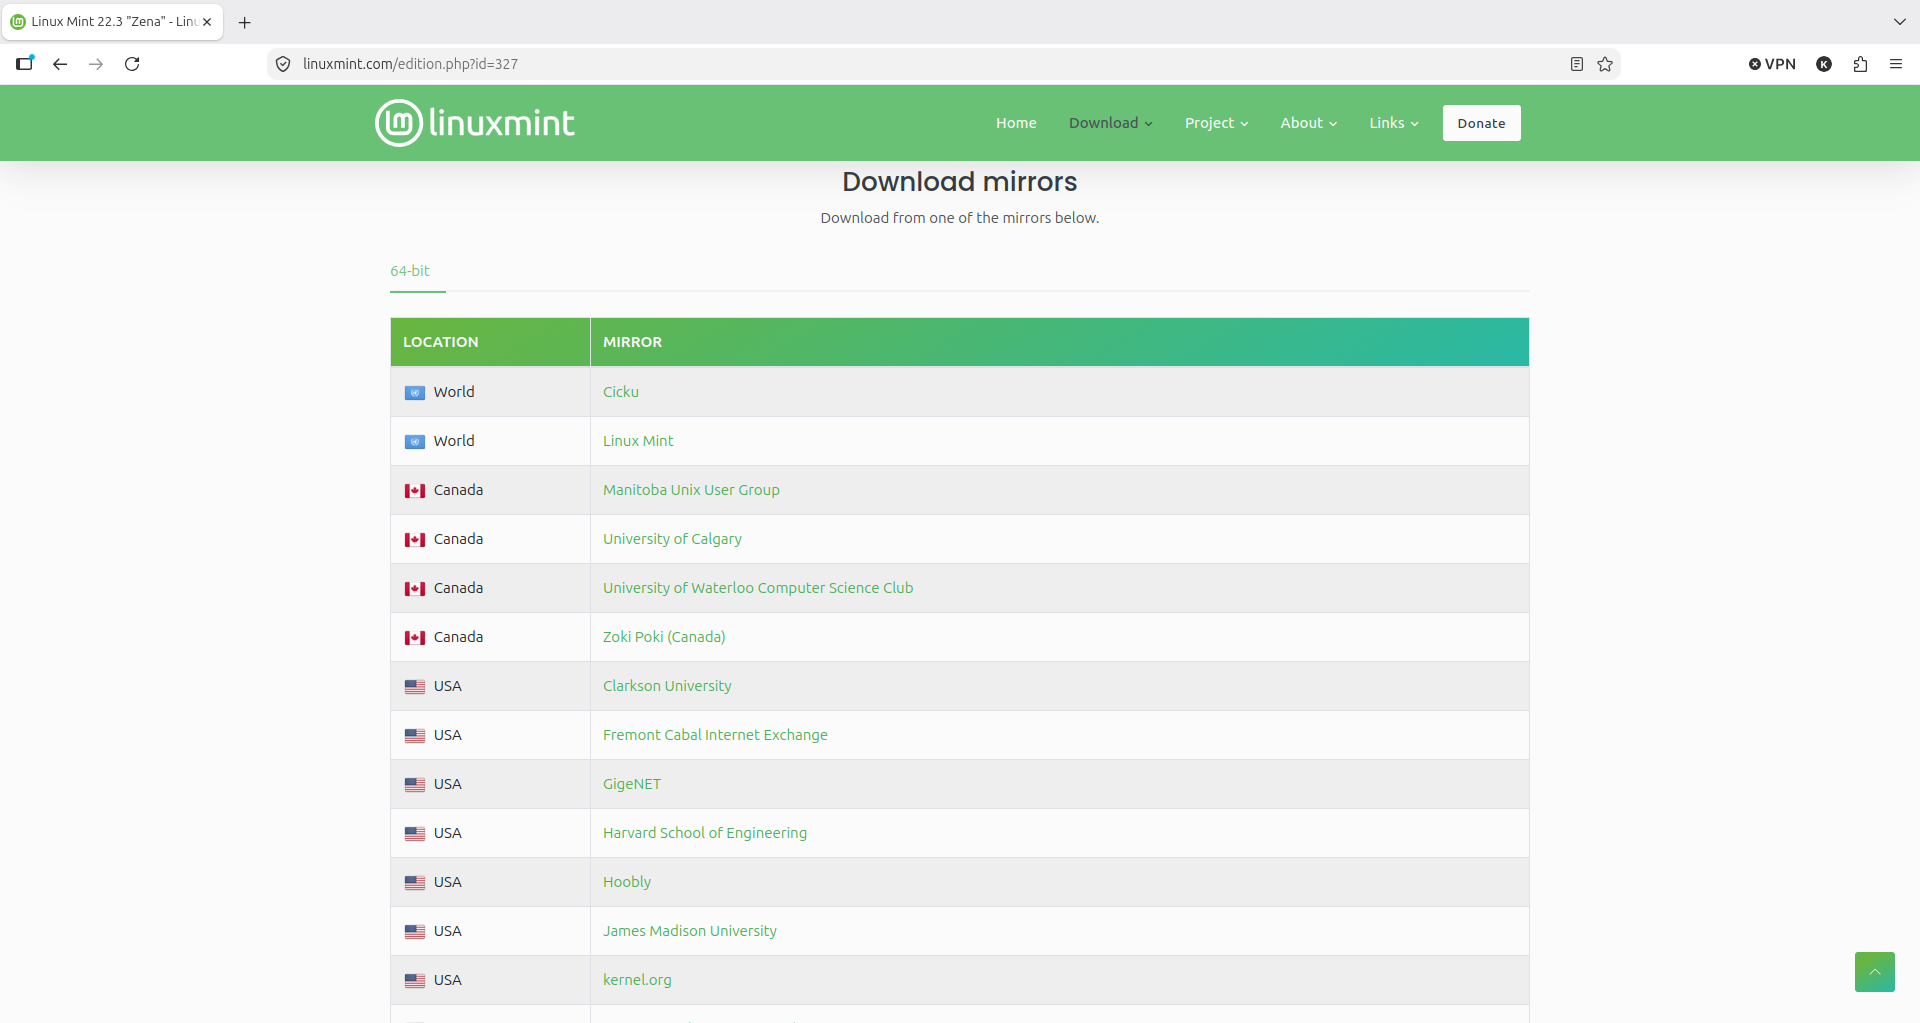
In practice, there was no Nigerian mirror listed at all. I first tried the closer regional options such as South Africa, Kenya, and Mauritius, but they either failed outright or were too unreliable to be useful. I then tried a few European mirrors, including the Netherlands, Germany, and the UK, hoping they would perform better. They didn’t. At that point, the mirror system had stopped being a solution and had become the problem.
When you are downloading large files from a region with unstable infrastructure, “pick the nearest mirror” is not always practical advice. Sometimes the mirror network simply does not serve your location well enough.
I needed another option.
Pivoting to Torrent
Linux Mint also provides a torrent download option. Before this project, I had never used a torrent client and didn’t even know torrents were commonly used for legitimate software distribution. Like a lot of people, I associated torrents mostly with piracy.
That assumption was wrong.
Torrents are widely used for distributing large open-source software because they download the file in smaller pieces from multiple peers instead of pulling the entire file from one server. This makes them more resilient on unstable connections and allows the download to pause and resume without losing progress.
For someone trying to download a 2.82GB ISO file in an environment with unreliable power and internet, that resumability wasn’t a luxury. It was practical protection against wasted time and wasted data. Torrent had become my best realistic option for getting the ISO at all.
Getting qBittorrent
To use a torrent file, I needed a torrent client. I chose qBittorrent because it is free, open-source, has no ads, and does not bundle unwanted software with its installer.
I downloaded it from the official qBittorrent website. That is worth mentioning because torrent clients are one of those software categories where downloading from the wrong place can easily expose you to fake installers or bundled malware. The official path required navigating a couple of pages, but the process itself was clean.
The Download Experience
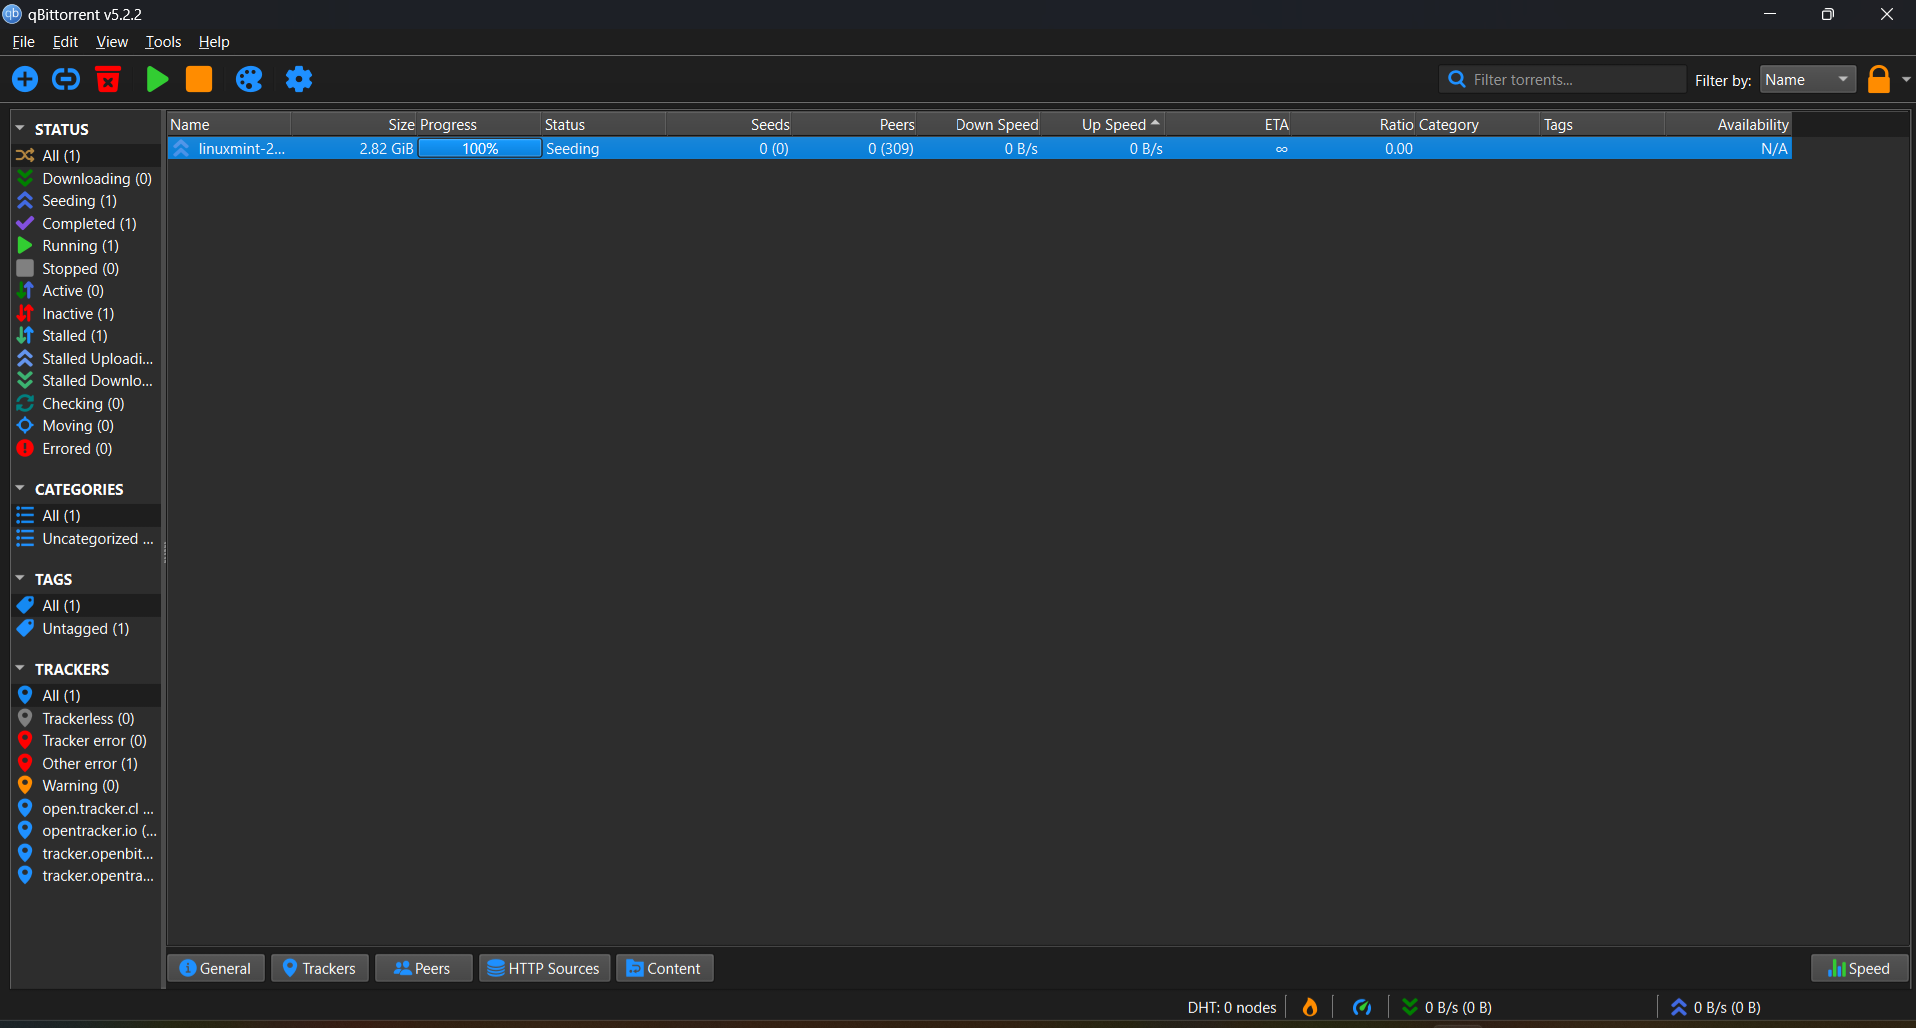
The download started very slowly.
That is fairly normal with torrents. At the beginning, the client still needs to discover enough peers sharing the file. As more peers become available, speed usually improves.
I made a few adjustments to the client’s connection settings and added additional trackers to improve peer discovery. After that, the download improved.
But downloading the file was only half the job. Before using it, I needed to verify that the ISO I had was complete, clean, and the original file.
Verifying the ISO with SHA256
Downloading the ISO file was not enough. Before using it, I needed to confirm that the file I had was the same one Linux Mint actually intended to distribute.
This is where checksum verification comes in.
Linux Mint publishes a SHA256 checksum for every ISO release. A SHA256 checksum is a long hexadecimal string generated from the contents of a file. If even a single bit in the file changes — whether from corruption, an incomplete download, or tampering — the checksum changes completely.
In simple terms, it is a way to verify file integrity.
If the checksum generated from my downloaded ISO matched the checksum published on the Linux Mint website, then I could trust that the file was complete and unmodified.
Running the Check in Windows
I performed the verification from Windows using the built-in
certutil command against the original ISO file in my
Downloads folder.
certutil -hashfile "C:\Users\HP\Downloads\linuxmint-22.3-xfce-64bit.iso" SHA256
The command returned the following hash:
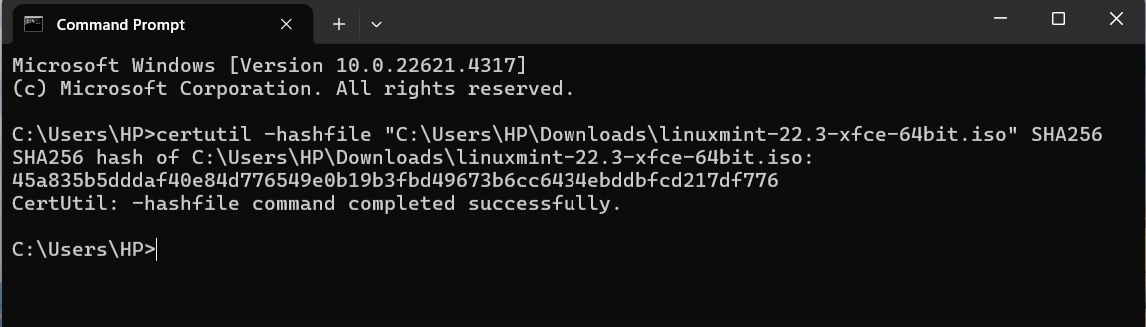
It was an exact match.
That was the first moment in a long time I felt something close to solid ground. At least the file itself wasn’t the problem.
Later, when I ran into boot issues in Part 2, I would run this same check again on the copy stored on the Ventoy device. But for now, the downloaded ISO was confirmed clean, and I could move on to creating the boot media.
Why This Step Was Worth Doing
A lot of people skip checksum verification entirely. That is understandable but risky. Large installation files can be corrupted silently, and when something goes wrong later during boot, it becomes much harder to tell whether the problem came from the file, the boot media, the BIOS settings, or the hardware.
For me, this was one of those small steps that looked optional at first but turned out to be extremely useful later when I needed to eliminate the ISO as a suspect during troubleshooting.
Preparing Boot Media with Ventoy
With a verified ISO file ready, the next step was getting it onto a bootable device so I could use it to start the Linux installer.
For this, I used Ventoy, a bootable media tool that prepares a USB drive or SD card so you can boot ISO files directly from it without repeatedly reflashing the device.
Ventoy works differently from the more common bootable media tools.
| Tool | How it works | Best for |
|---|---|---|
| Rufus | Flashes one ISO directly to the drive | One-time boot media creation |
| Balena Etcher | Flashes one ISO with a simpler interface | Beginner-friendly single-ISO setup |
| Ventoy | Prepares the drive once, then lets you copy ISO files onto it normally | Reusable boot media and multi-ISO flexibility |
What made Ventoy more suitable for me was the flexibility. Once the drive is prepared, you can copy ISO files onto it like regular files and boot them from a menu. That is a cleaner long-term option than reflashing the same device every time you want to try another ISO.
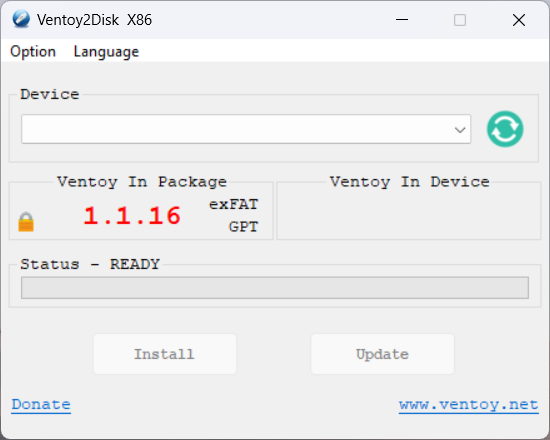
The 1TB External HDD Attempt
My first idea was to use my 1TB external hard drive as the boot device.
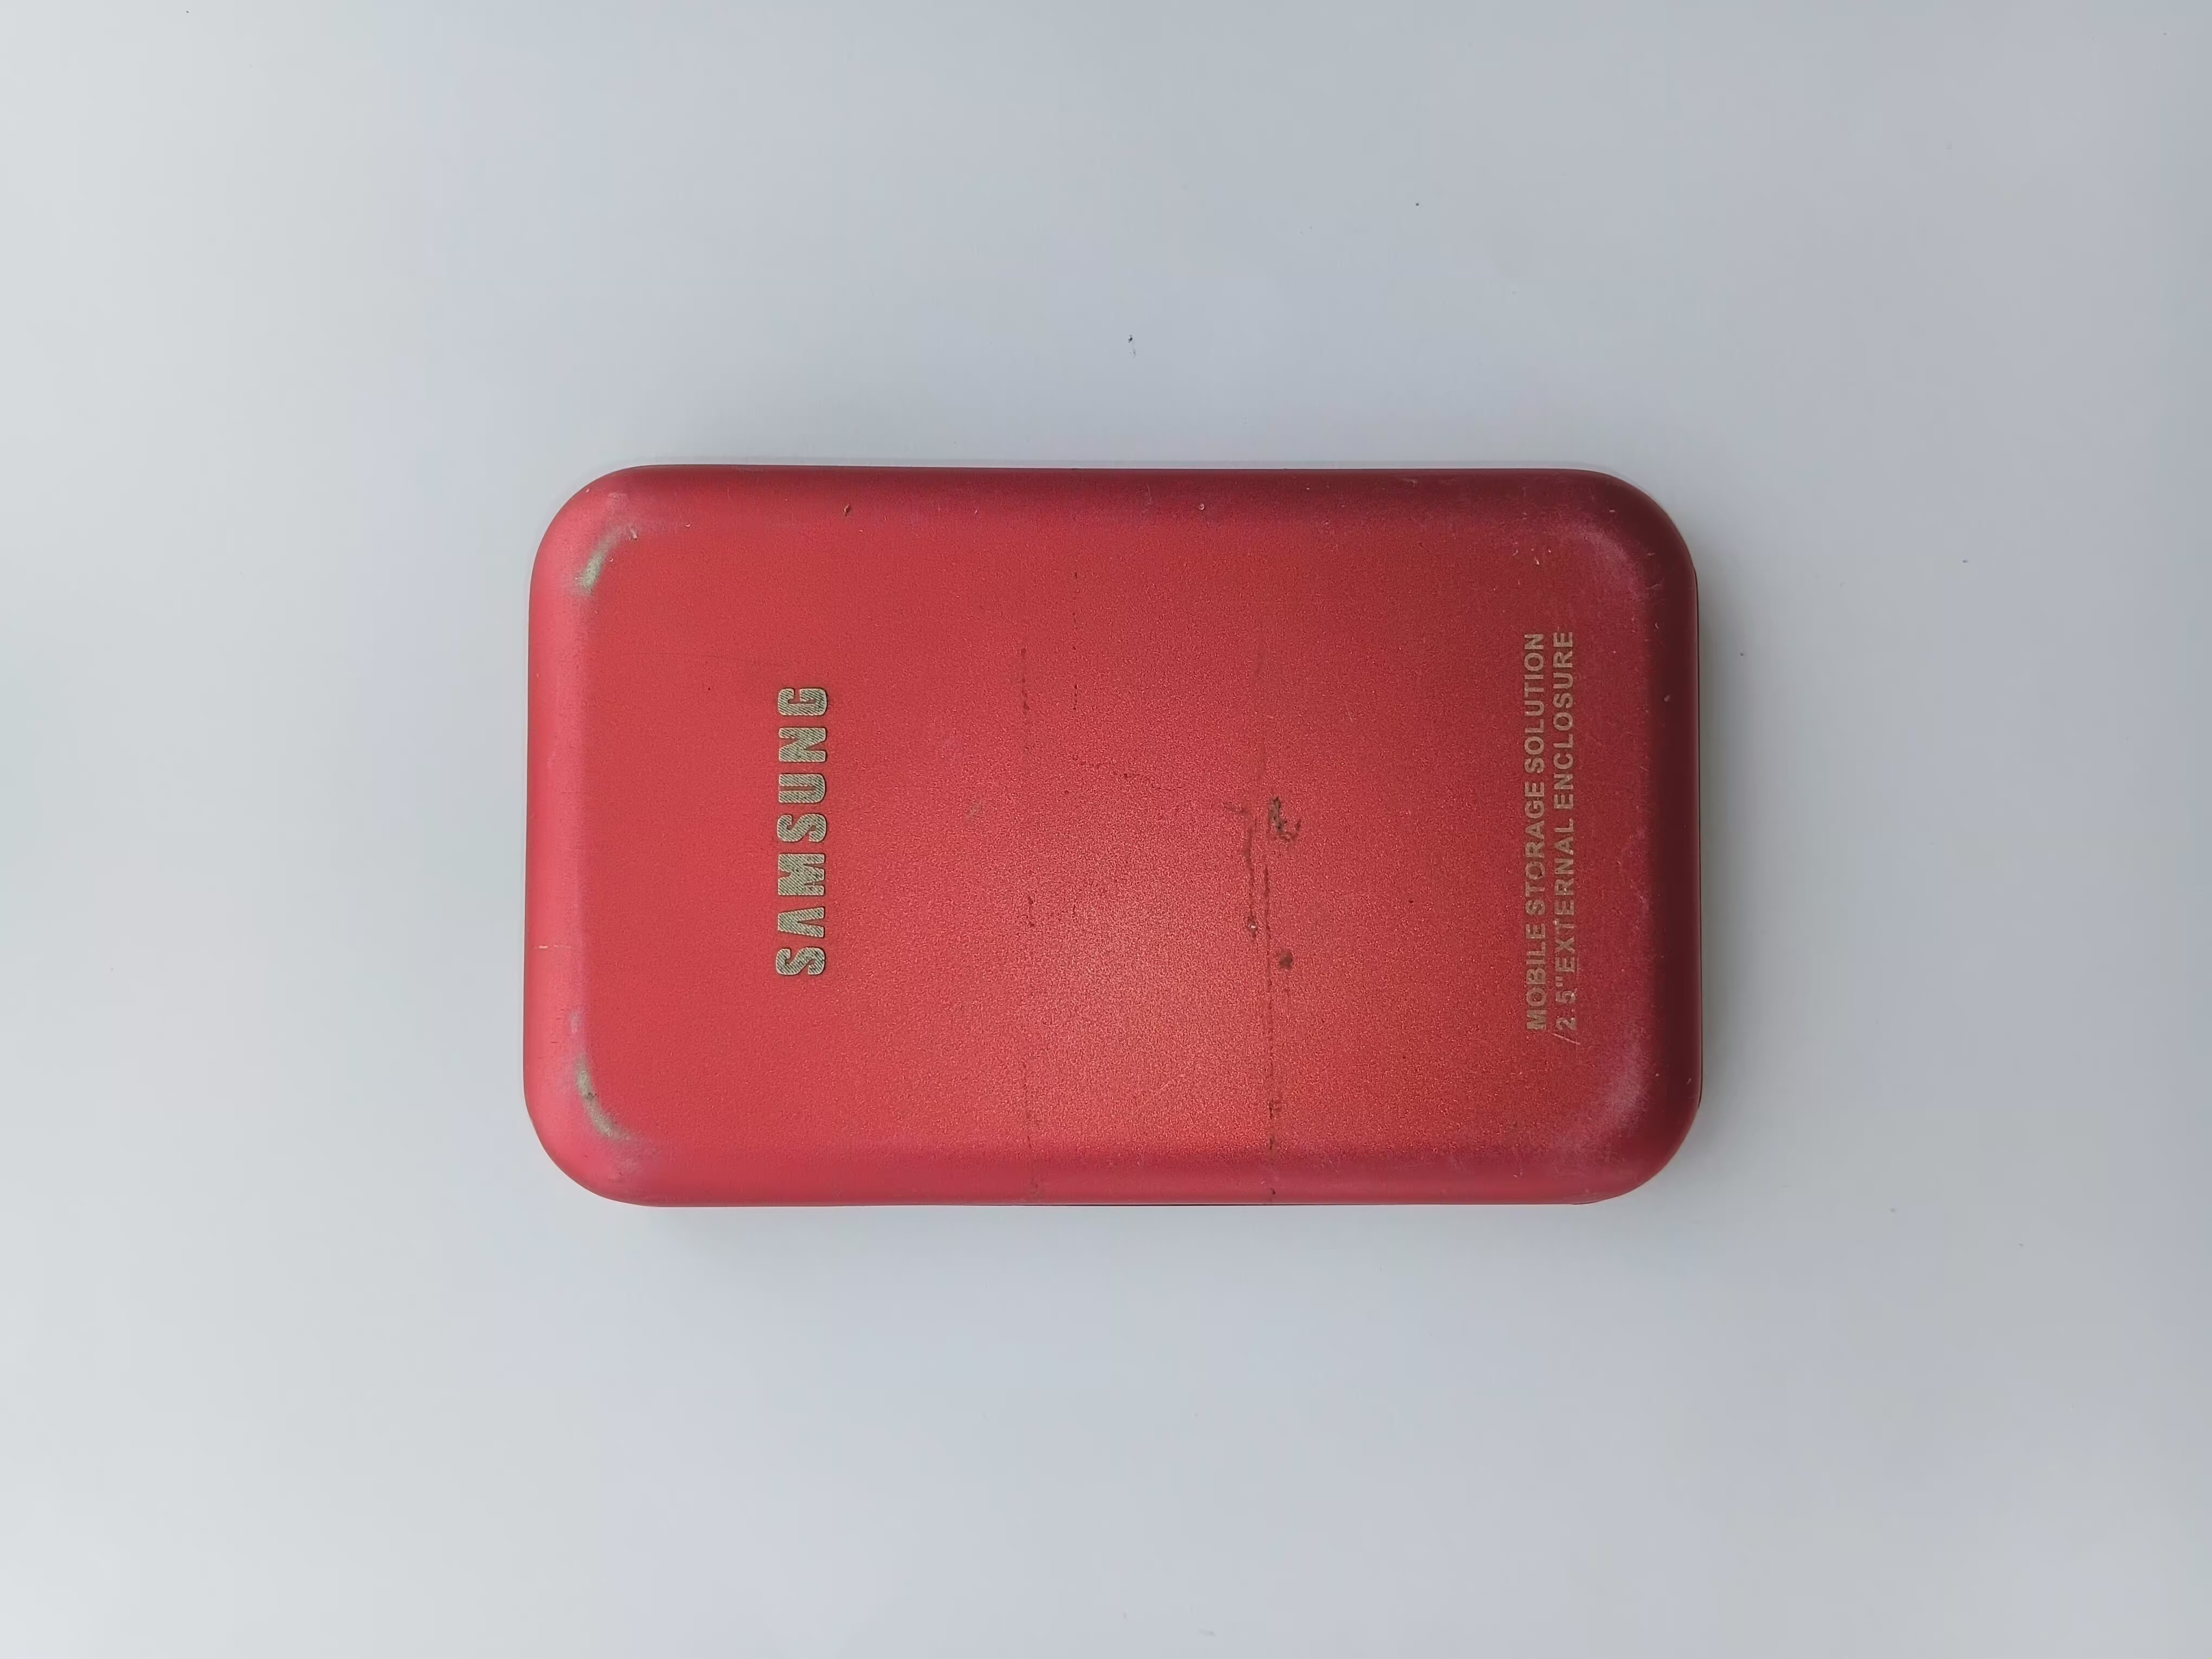
That plan failed immediately.
Ventoy requires a full format of the target device during its initial setup. Ventoy needs to rewrite the disk’s partition structure to create its own boot partition and data partition. That means everything already on the drive gets wiped during setup.
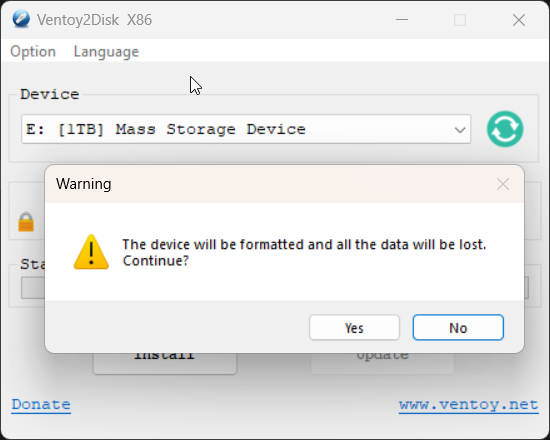
My external HDD had important files on it, and I had nowhere else to move them safely at the time. Using it would have meant sacrificing real data just to create boot media, and that was not a reasonable trade.
So the 1TB HDD was out.
Pivoting to the SD Card
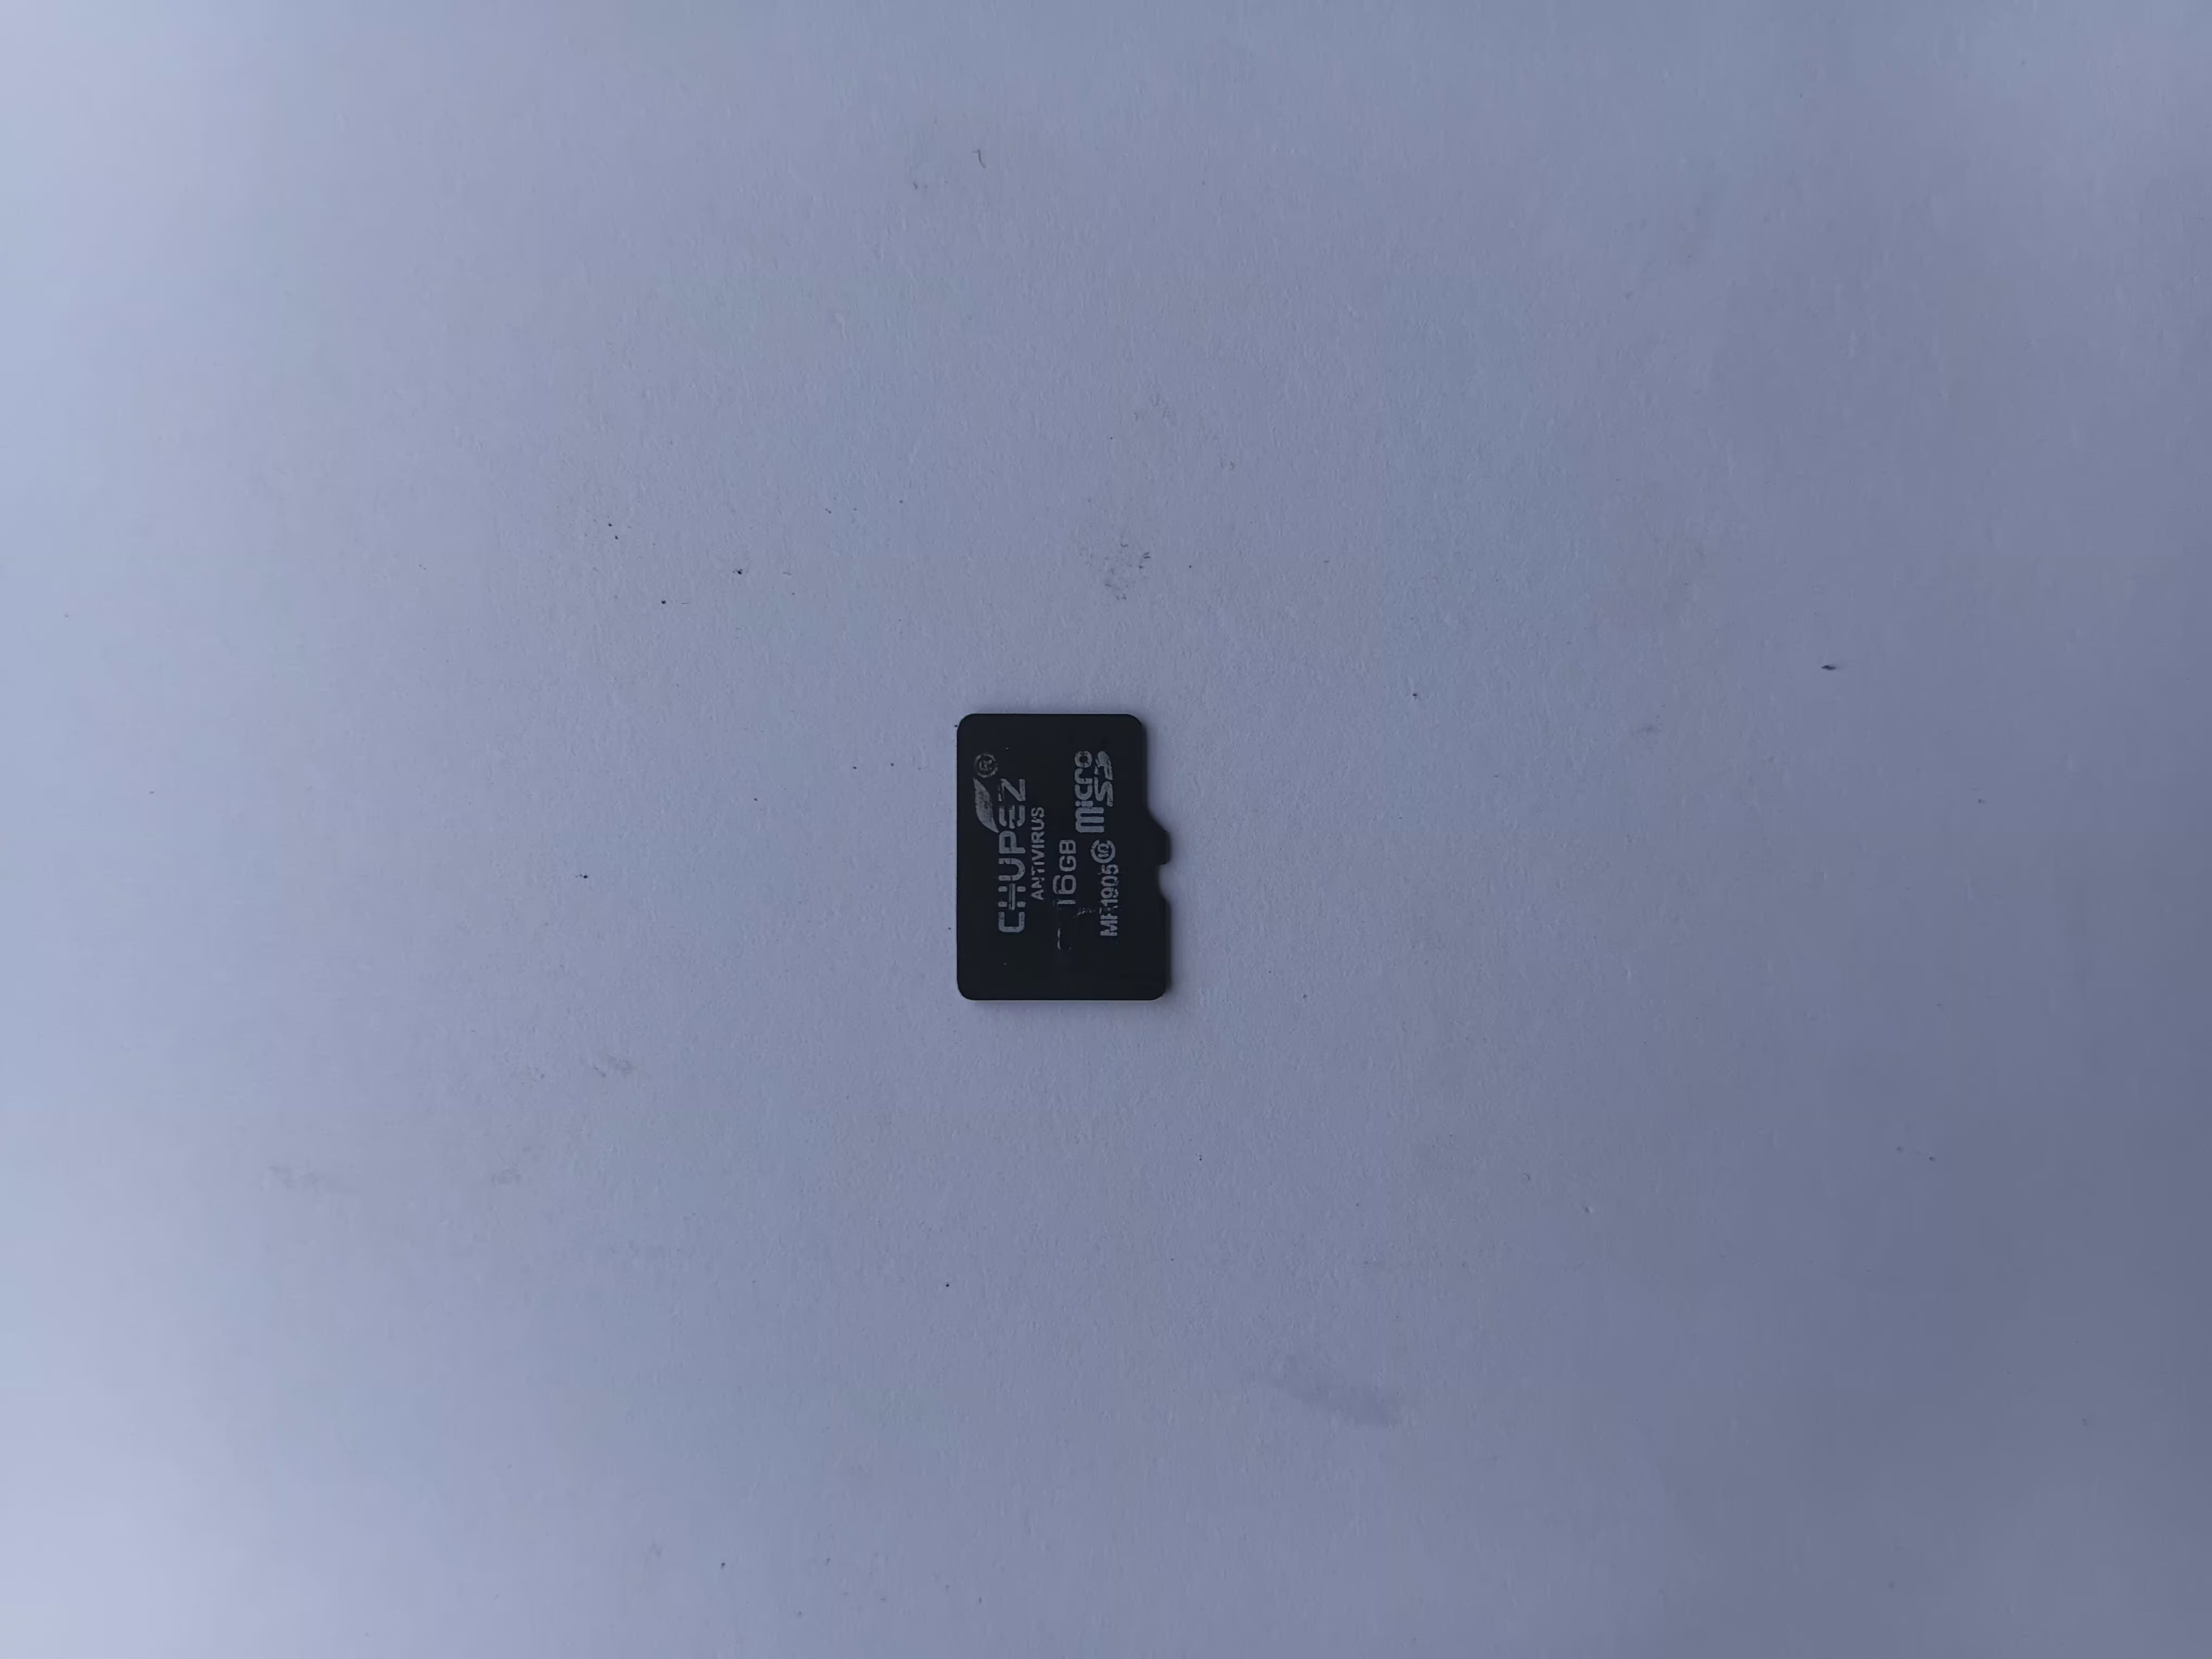
I had a 16GB SD card I could afford to clear, so I formatted it and ran Ventoy on it instead. Ventoy recognized the card and prepared it successfully. The SD card was now a boot device ready to accept ISO files.
Using My Tecno T455 as a Transfer Bridge
At that point, I still did not have a dedicated SD card reader. What I had was my Tecno T455 phone, which had an SD card slot.
So I inserted the SD card into the phone, connected the phone to my laptop using a USB Type-C cable, and used it as a bridge to transfer the Linux Mint ISO file from my laptop onto the Ventoy-prepared SD card.
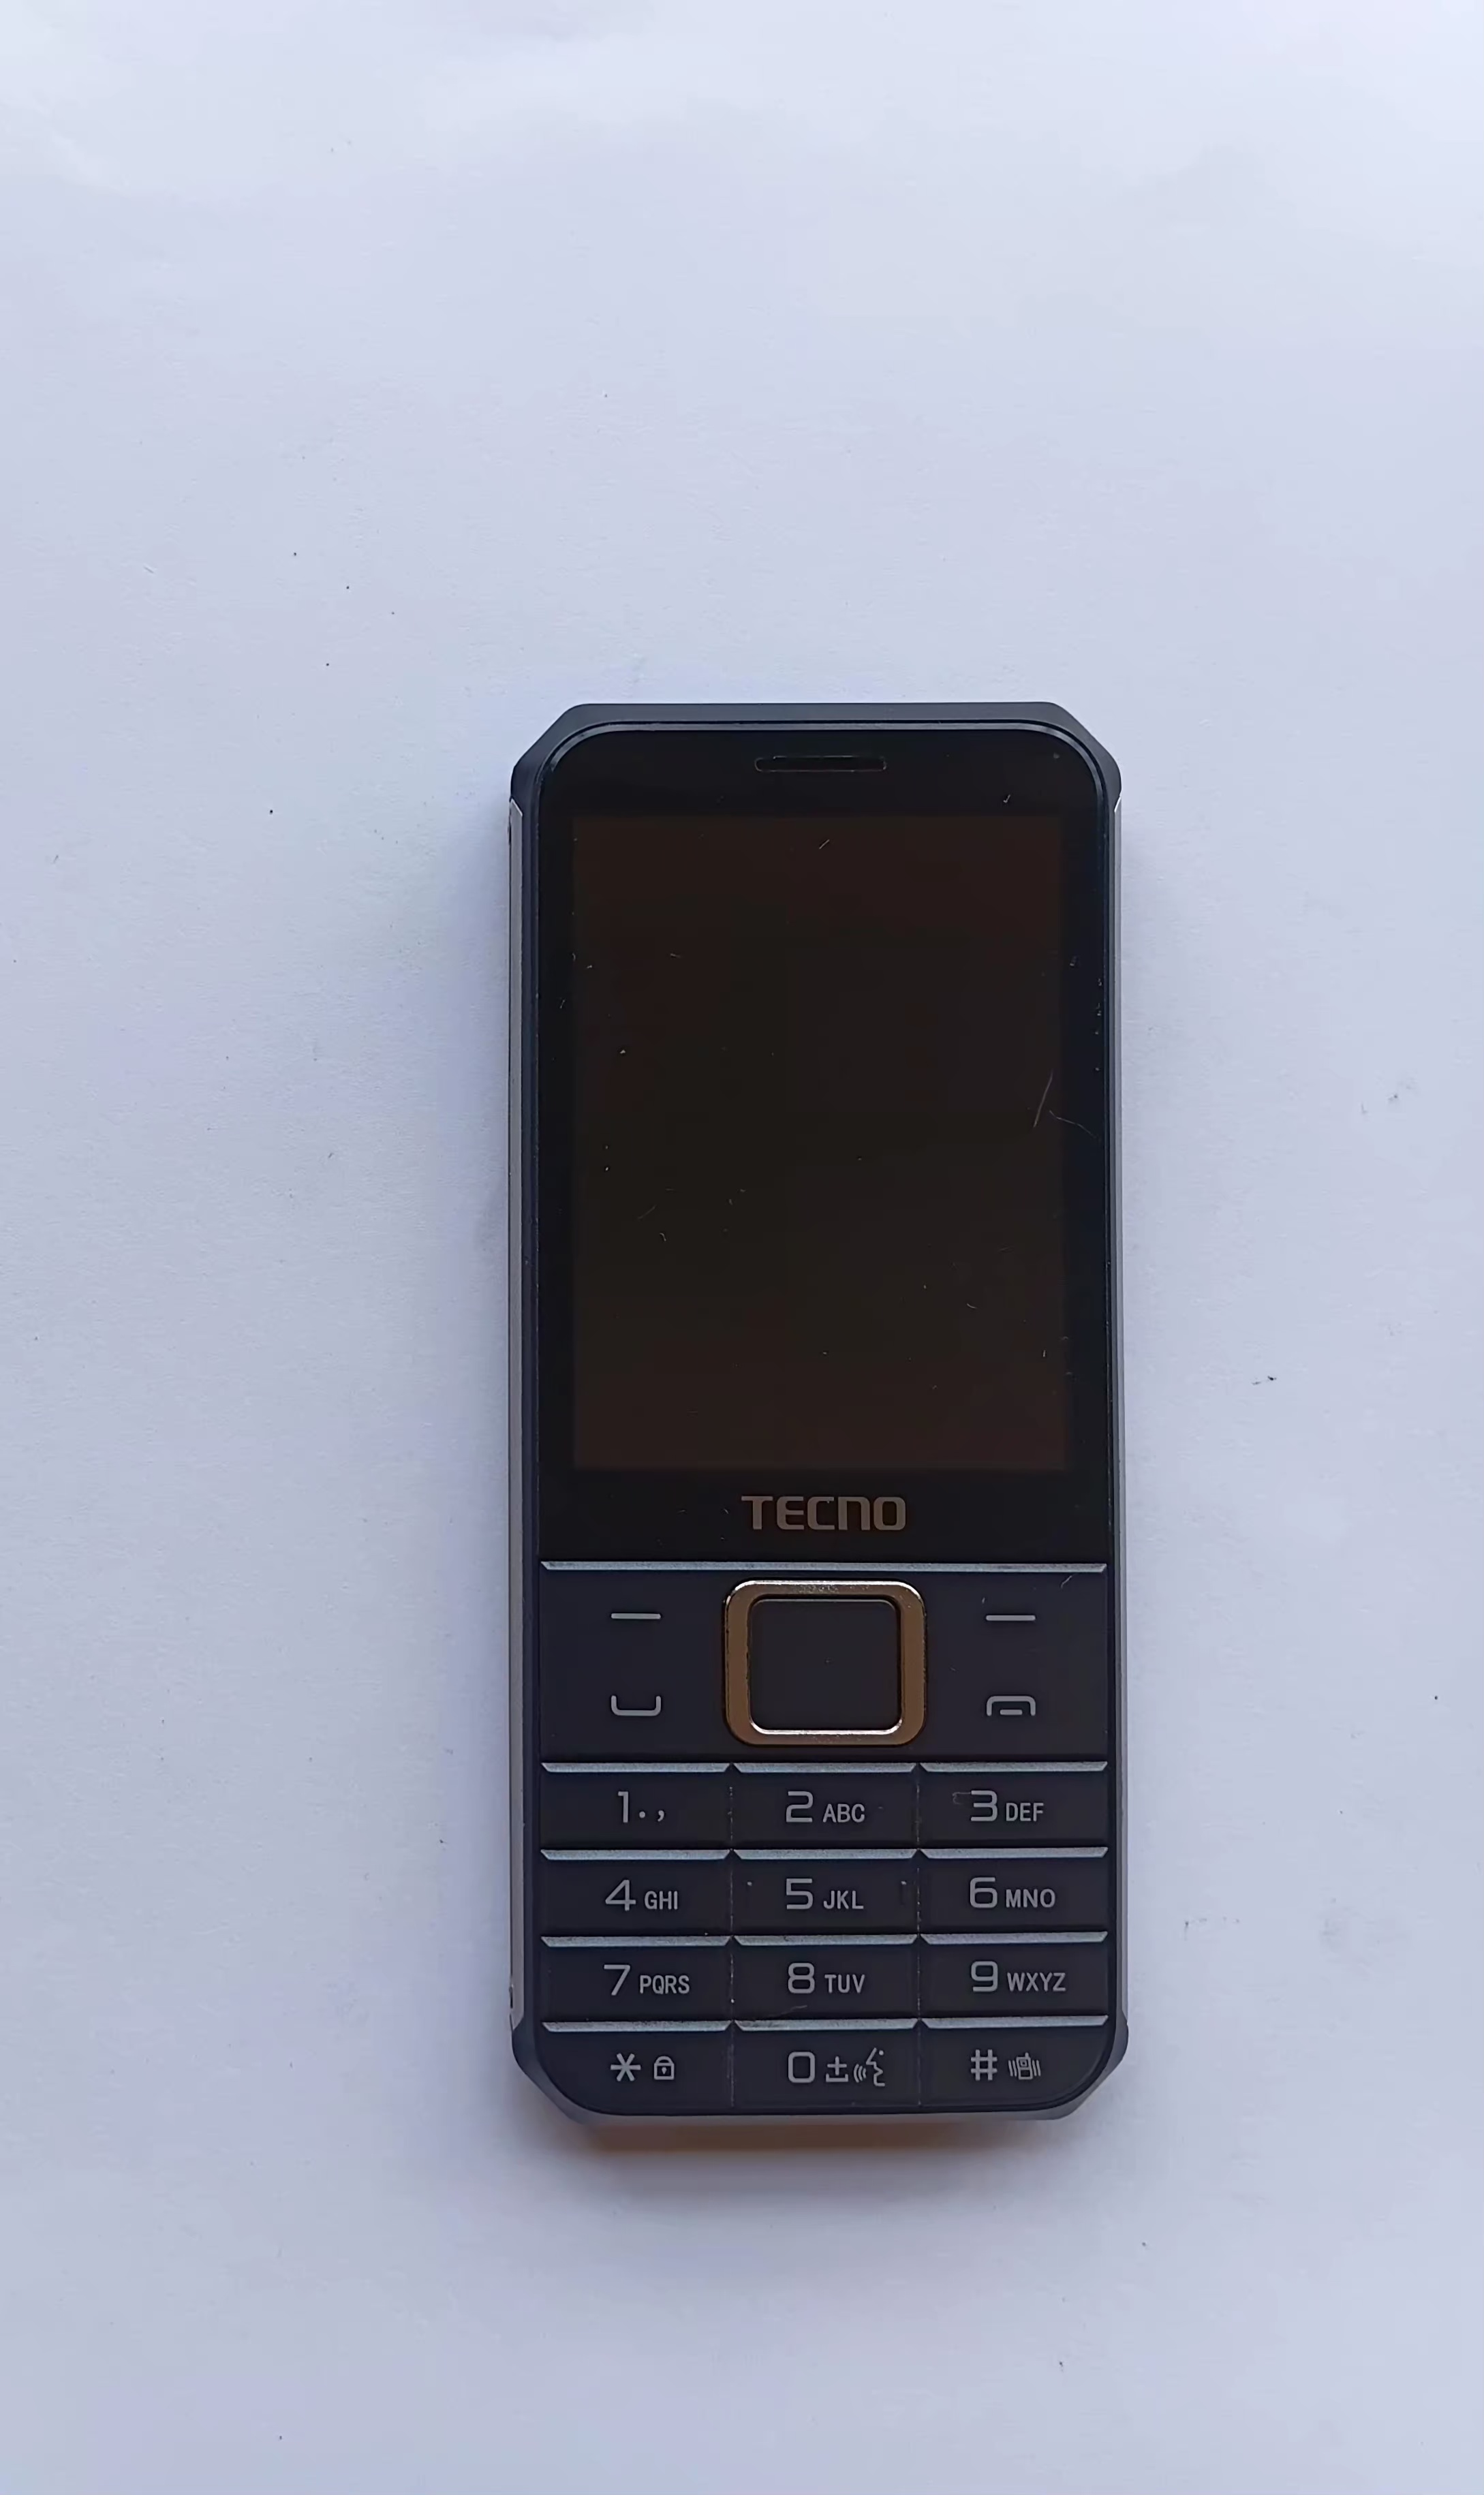
Ventoy recognized the storage through that connection, and I copied the Linux Mint XFCE 22.3 ISO onto it.
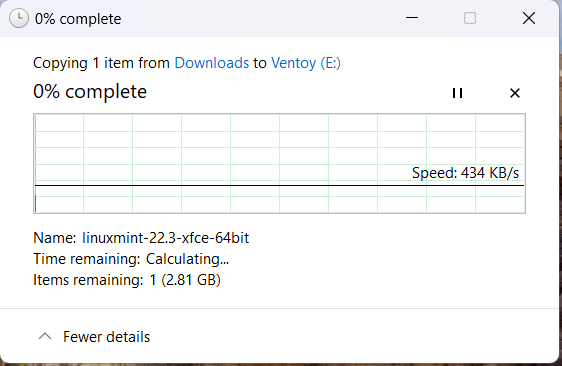
The transfer took roughly 100 minutes and more at speeds fluctuating around 434 KB/s.
Watching that progress bar crawl for over an hour and a half on an unstable connection was its own kind of quiet punishment. I just sat there knowing this was the only path that still had a chance of working.
Routing the file through a phone introduced extra overhead and a less efficient data path — a problem I would not fully understand until Part 2.
At this point, the setup was technically ready. The preparation phase was complete.
The next step was booting from that setup — and that is where the real problems began.
Ventoy also has its own Secure Boot considerations, which I would discover the hard way in the next phase.
Continue to Part 2 — BIOS, Boot Failures and the Troubleshooting